Electrical outlets are a vital part of everyday life, providing the connection needed for devices and appliances to function. When a power outlet stops working, it can disrupt daily routines and create frustration, especially if multiple devices rely on that connection. Understanding why an outlet fails and how to safely troubleshoot it is essential for maintaining a functional home or office environment. We will explore the common causes of power outlet malfunctions, how to identify underlying issues, and practical steps to restore proper functionality. By following careful procedures, it is possible to diagnose problems without causing further damage or risking safety hazards. A structured approach can make what seems like a complicated electrical problem much more manageable for anyone, regardless of prior experience.
Identifying the Symptoms of a Non-Functioning Outlet
The first step in troubleshooting a power outlet is recognizing the signs that it is not operating correctly. Outlets that fail to provide electricity may show visible indicators such as sparks, scorch marks, or a burning smell. In other cases, the issue might be less obvious, such as intermittent power or devices that fail to operate only in certain conditions. Plugging multiple devices into the same outlet can help determine whether the problem lies with the outlet or the device itself. It is also important to determine whether the problem is isolated to one outlet or affects several in the same circuit, as this can indicate whether the issue is local or linked to a larger electrical problem. Understanding these symptoms is crucial because it guides the next steps in safely and effectively diagnosing and resolving the issue, making electrical troubleshooting by Setpoint Heating and Cooling a reliable approach for identifying problems.
Checking Circuit Breakers and GFCI Outlets
A common reason for power outlets to stop working is a tripped circuit breaker or a switched-off Ground Fault Circuit Interrupter (GFCI) outlet. Circuit breakers are designed to cut power to a specific area of a building if they detect an overload, protecting the wiring from damage. GFCI outlets, often found in kitchens, bathrooms, and outdoor areas, cut power when they sense an electrical imbalance to prevent shocks. Inspecting the breaker panel for tripped breakers or switching the GFCI outlet’s reset button can often restore power immediately. It is important to reset breakers or outlets carefully, following the correct procedure, and to avoid forcing switches that seem stuck. Properly checking these safety devices helps avoid unnecessary outlet replacements and can resolve a significant portion of common electrical interruptions.
Inspecting the Outlet for Physical Damage
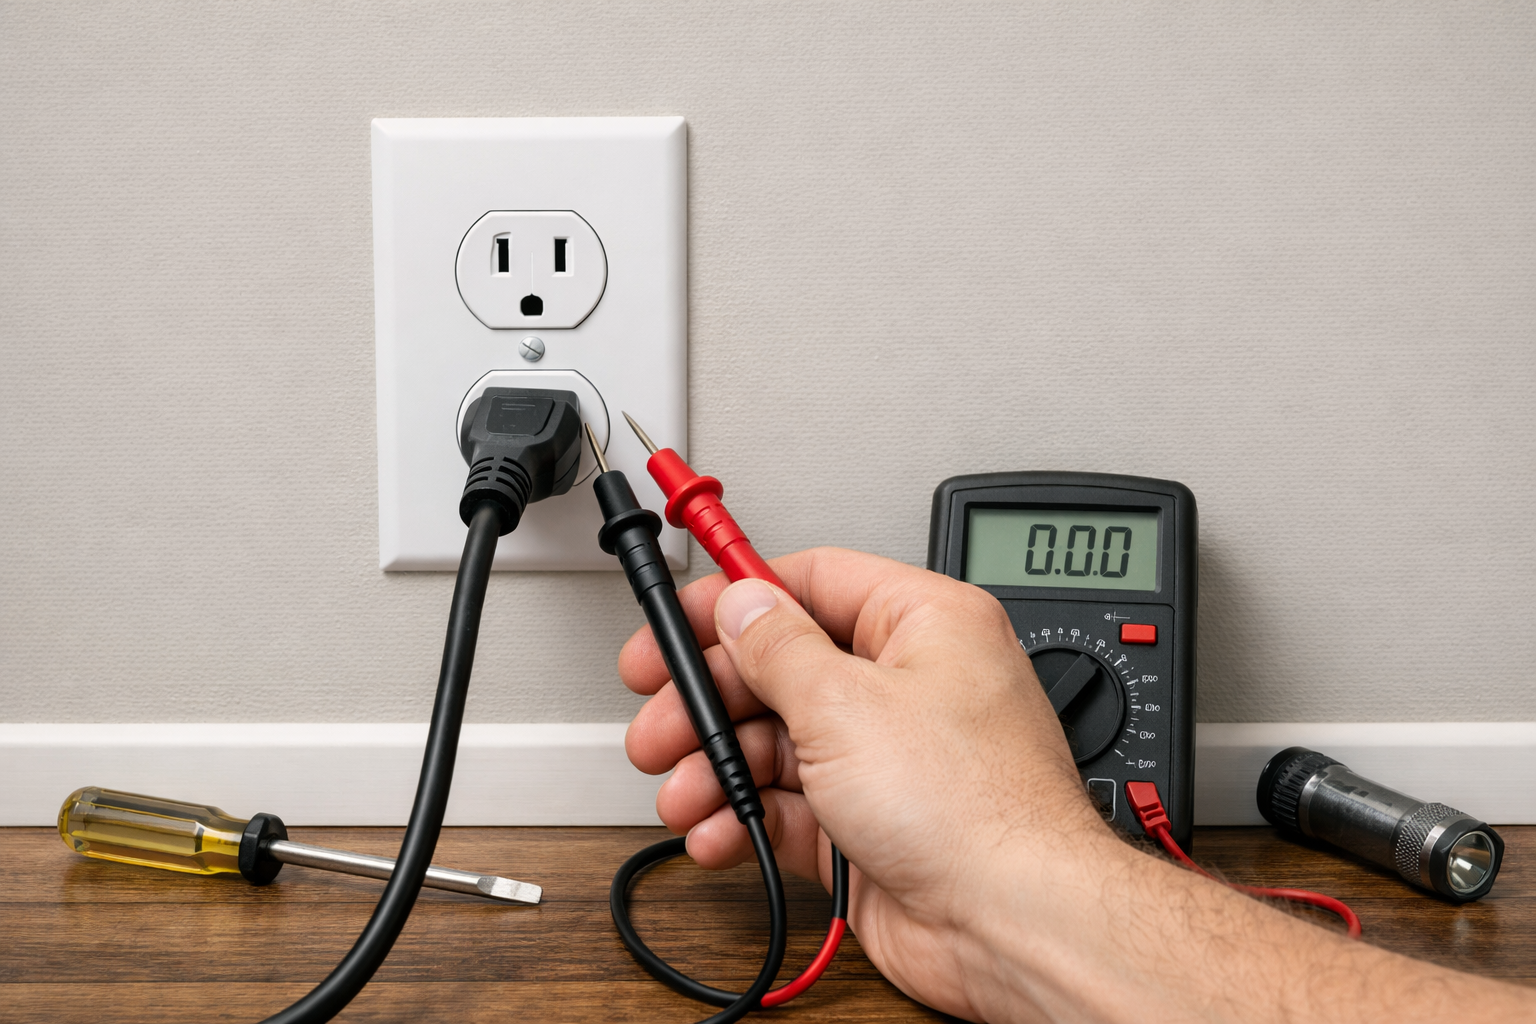
Once electrical panels and safety devices have been checked, the next step is to examine the outlet itself for physical signs of damage. Outlets that have been exposed to heavy use, moisture, or faulty wiring may develop cracks, burn marks, or loose connections. Loose wires can interrupt the flow of electricity, and damaged components can pose a fire hazard. Using a voltage tester or outlet tester allows for safe detection of power without touching live wires. In some cases, replacing the outlet entirely may be necessary if visible damage is present. Taking the time to inspect the outlet thoroughly ensures that minor issues are not overlooked, helps maintain the overall safety of the electrical system, and helps determine whether repairs or replacement are needed.
Troubleshooting Wiring and Connections
If the outlet and circuit breakers appear to be in working order, the problem may lie in the wiring or internal connections. Electrical wiring can become loose over time due to vibrations, improper installation, or aging materials. Carefully removing the outlet cover and checking for loose screws or wires can reveal hidden issues. It is critical to turn off the circuit breaker before touching wiring to avoid the risk of shock. Connections should be secure, with wires properly seated under screws or in push-in terminals. Additionally, inspecting the wires for signs of wear, fraying, or corrosion helps prevent future problems. Proper attention to wiring ensures the outlet functions reliably and reduces the likelihood of electrical hazards from faulty connections.
Using Professional Tools for Diagnosis
While some troubleshooting steps can be performed without advanced tools, using certain diagnostic equipment can provide more accurate insights. Outlet testers, multimeters, and voltage detectors can quickly identify whether power is present, if wiring is reversed, or if there are grounding issues. Testing the outlet under load by plugging in a device while monitoring the voltage can reveal intermittent faults that are otherwise difficult to detect. These tools also allow for a safer approach compared to relying solely on visual inspection. Understanding how to use these instruments correctly enhances the troubleshooting process, providing clarity about whether the issue is simple, like a loose wire, or more complex, such as a wiring defect requiring professional attention.
Power outlets that stop working can create inconvenience and safety concerns, but systematic troubleshooting can resolve most issues efficiently. We have explored how to recognize symptoms, check circuit breakers and GFCI outlets, inspect physical damage, and address wiring and connection problems. Using proper diagnostic tools enhances accuracy and safety during the troubleshooting process. Implementing preventive measures after repairs can prolong the life of outlets and ensure reliable electrical service. Understanding the causes and solutions of outlet failures empowers individuals to manage minor electrical problems independently while maintaining safe practices.